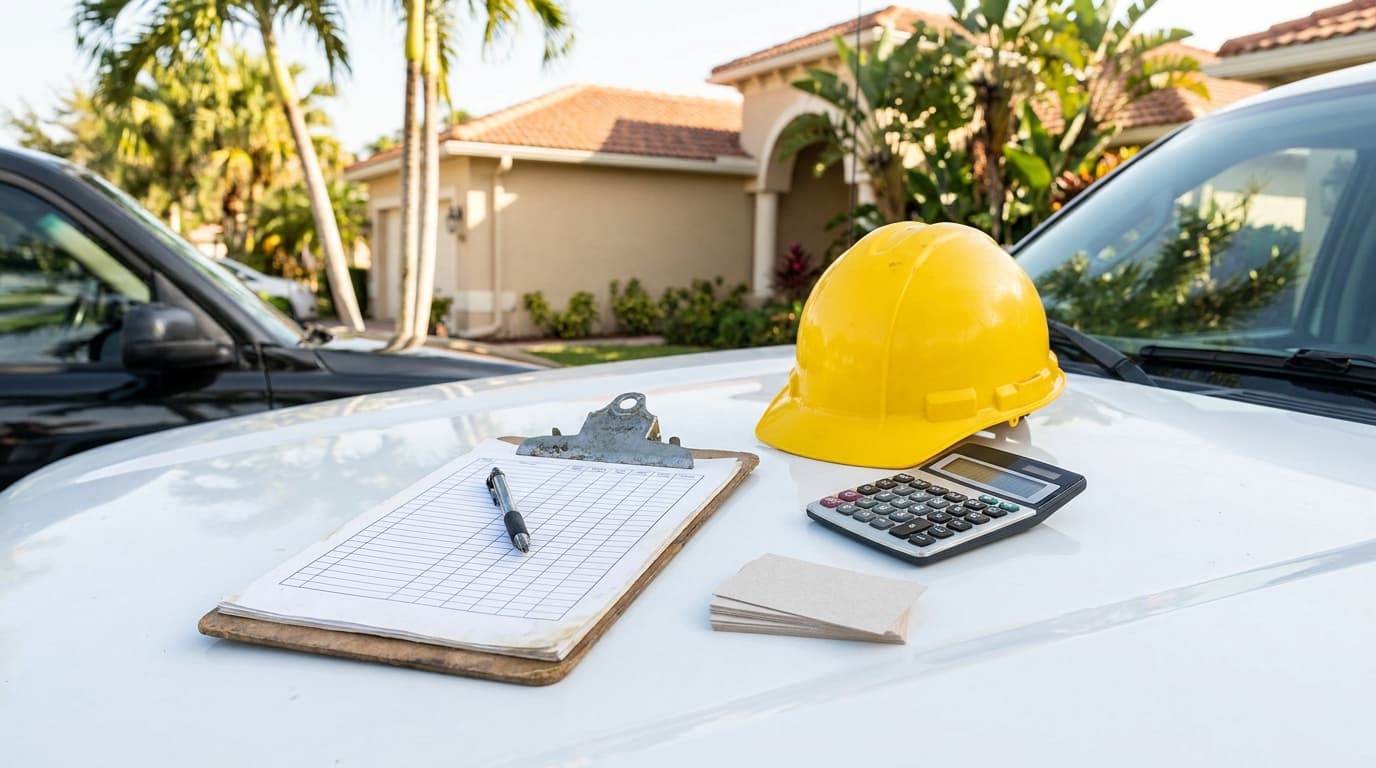
Construction Photo Documentation: A Complete Guide for 2026
A complete guide to construction photo documentation. Learn best practices, workflows, legal uses, and how AI tools can streamline your reports and marketing.

A homeowner walks you to the side yard before demo and says, “That crack was already there.” Three weeks later, after your crew has been in and out, that same crack becomes your problem. If all you've got is a few random phone shots mixed in with lunch photos, you're in a weak spot. You're arguing from memory when you should be arguing from records.
That's why construction photo documentation matters. Not as busywork. Not as something you do only when a job goes sideways. It's a working system for proving site conditions, tracking hidden work, documenting quality, and backing up invoices, change orders, and claims.
The newer subcontractors I work with usually make the same mistake. They take photos when something looks interesting, not when something needs to be proven later. Good documentation is different. It's deliberate, repeatable, and tied to location, timing, and scope. When you do it right, photos stop being clutter in a camera roll and start acting like evidence.
Why Your Camera Is Your Most Important Tool on Site
A lot of site fights start small. A scratched window. A chipped driveway edge. Mud tracked through a finished hallway. The owner says your crew caused it. Your foreman says it was there before mobilization. If nobody documented existing conditions well, that simple disagreement can hold up payment, sour the relationship, and drag everyone into a pointless blame game.
That's the first lesson. Casual photos are not construction photo documentation. Casual photos are isolated snapshots. Real documentation is a site record. It captures what existed before work started, what changed during the job, and what got covered up along the way.
Practical rule: If a condition could later affect payment, liability, inspection, or warranty, photograph it before the next trade covers it or changes it.
Newer crews often think the job is the work itself. In practice, the job is also proof. If you pour the slab, set the waterproofing, rough in the plumbing, and close the walls, but you can't show what was done and when, you're relying on trust alone. That's not a strong business model.
Your camera protects margin in a few different ways:
The contractors who stay out of trouble don't usually have better luck. They have better records. When a question comes up months later, they don't guess. They pull up the date, location, and photo set and answer it.
The Core Benefits of Systematic Photo Documentation
Systematic documentation pays off long before there's a dispute. It affects how fast you solve problems, how clearly you communicate, and how much time your team wastes looking for the story of the job.

Disputes get settled with records, not opinions
The strongest business case is simple. Industry research shows that 70% of construction disputes stem from inadequate project documentation, and firms using systematic photo capture reported faster dispute resolution in 92% of cases. The same source says photo documentation can reduce project delays by 31% and administrative costs by 40%. It also notes that AI-assisted reporting can cut reporting time by up to 90% compared with traditional methods, according to OpenSpace's review of construction photo documentation practices.
That matters because weak records create expensive ambiguity. Nobody remembers the exact condition of a drain line, a window opening, or a waterproofing seam six months later. A dated image tied to the right location often ends the argument fast.
Photos keep the job moving
Good photos aren't just defensive. They let supers, PMs, owners, and remote stakeholders verify work without another site visit. A clear progress record also helps with coordination between trades because everyone can see what's installed, not what someone thinks was installed.
I've seen this make the biggest difference on work that gets buried or covered. Underground utilities, rough-ins, and air sealing details are hard to explain after the fact. They're easy to review when the photos are taken from consistent locations and tagged correctly.
A practical breakdown looks like this:
| Benefit | What it changes on site |
|---|---|
| Dispute resolution | Gives you dated, location-based evidence |
| Project management | Supports remote review and faster field decisions |
| Quality control | Makes it easier to compare installs over time |
| Client communication | Shows progress without long written explanations |
Clients trust what they can see
Owners get nervous when they can't tell what's happening behind walls or above ceilings. A steady stream of organized updates calms that down. It also cuts down on those “just checking in” calls because the visual record already answers the question.
There's also a business development side to this. A documented job produces before-and-after sets, progress milestones, and proof-of-work you can reuse for proposals, closeout packets, and portfolio material. The key is to separate evidence photos from marketing photos. They can overlap, but they aren't the same thing. Evidence needs context, timestamps, and consistency. Marketing needs clarity and presentation.
More photos don't automatically mean better documentation. The useful set is the one your team can retrieve fast and explain without guessing.
Creating a Bulletproof Photo Record
Most bad photo records fail in the same way. They have plenty of images, but no system. The shots are too close, too random, missing context, or uploaded so late that nobody remembers what they show.
A bulletproof record comes from repeatable habits, not fancy equipment.

A useful benchmark comes from industry practice cited by CompanyCam. A 2018 study found that 52% of all construction rework was caused by poor communication and bad project data, and guidance now recommends breaking sites into repeatable 100–250 square foot zones for coverage so teams don't miss areas or rely on memory, as summarized in CompanyCam's discussion of construction photo documentation software.
What to do on every walk
Use the same visual sequence every time. That way anybody reviewing the record can understand what happened without calling the person who took the photos.
Industry guidance also favors phase-based capture with repeatable vantage points, wide-medium-close shot sets, and metadata tied to area, trade, and status. If you need a simple starting framework, these project documentation templates for contractors can help crews standardize what gets captured and when.
What to stop doing
Some habits create a pile of photos that looks impressive but won't help you later.
If someone outside your crew can't tell where the photo was taken, what phase the work was in, and why it matters, the record is incomplete.
Your Daily and Milestone Photo Documentation Workflow
Crews need a routine they can follow without overthinking it. The best workflow is boring in a good way. Same phases, same shot list, same naming pattern, every job.

Best practice is to make the process phase-based and repeatable, with an SOP that requires wide, medium, and close-up shots for each work package such as rebar placement, waterproofing, or pre-cover inspections, as outlined in Contractor Foreman's guide to construction photo documentation.
Preconstruction
Before a tool touches the building, create the baseline. This step protects you from pre-existing damage claims and documents conditions that may affect means and methods.
Photograph:
Take these from repeatable corners and entrances. If the owner later says your crew caused a chip or stain, this is the set you'll reach for first.
During construction
Daily documentation doesn't mean photographing every screw. It means capturing the work that proves progress, quality, changes, and hidden conditions.
Use a short field checklist:
For naming, keep it plain and sortable. A format like `2026-10-28_Project-Name_Kitchen-Plumbing_01.jpg` works because it sorts by date first, then project, then area or trade. If your software supports tags, add room, floor, phase, trade, and status.
A record is only useful if your team can retrieve it quickly. The tags I push hardest are:
| Field | Example |
|---|---|
| Date | 2026-10-28 |
| Project | Oak-Street-Remodel |
| Area | Kitchen |
| Trade | Plumbing |
| Status | Pre-cover |
| Reference | North wall at window line |
Milestones and closeout
Milestone photos should be mandatory before inspections, pours, cover-up, and handoff. If the work changes state after today, document it today.
Good milestone sets include:
For defensible records, project photo specifications often call for preconstruction photos before work starts, periodic construction photos at least monthly, and final completion photos after substantial completion. They also require digital JPG images from cameras with a minimum 10-megapixel sensor, according to Caltech's photographic documentation specification. That standard reflects a simple rule: useful photos preserve time, place, and milestone.
The best closeout package doesn't scramble to recreate the job at the end. It assembles a record that was built one day at a time.
Making Your Photos Hold Up in Court
A lot of contractors think legal evidence means “I took a picture.” It doesn't. A photo only helps if you can show where it came from, when it was captured, what it depicts, and whether anyone altered it.
That's why evidentiary quality matters more than volume. ENR's coverage of industry guidance makes the point clearly: many guides explain how to take photos, but fewer explain what makes a photo set legally persuasive. The value comes from provenance, consistency, and context, with growing emphasis on preserving chain-of-custody and using tamper-resistant systems, as discussed in ENR's article on construction photo documentation guidelines.
What makes a photo set persuasive
When a claim lands on the table, reviewers look for a clean story. They want to see originals, timestamps, sequence, location, and supporting context.
That usually means:
This isn't unique to construction. The same logic shows up in personal injury and insurance work. If you want a plain-language parallel, Mattiacci Law's guide on what to do after a car accident is useful because it shows the same core principle. Evidence is stronger when it's immediate, organized, and tied to the scene before memories shift.
For contractors, insurance issues often intersect with documentation quality too. Weak records can complicate defense, exclusions, and responsibility disputes, which is one reason many firms tighten their process alongside reviews of general liability insurance for contractors.
Weak records fail for predictable reasons
Bad evidence usually breaks in one of these places:
A camera roll is storage. It is not chain-of-custody.
If you think a job has any chance of ending in a backcharge fight, warranty claim, insurance issue, or permit dispute, treat documentation like evidence from day one. That doesn't mean acting paranoid. It means acting professional.
Automate Your Documentation with AI Photo Tools
The old complaint about documentation was fair. It took too long. Crews grabbed the photos, then somebody in the office had to sort them, rename them, write captions, build a report, and send updates. That admin drag is exactly where automation helps.

The clearest upside is reporting speed. As noted earlier in the source on documentation workflows, AI-assisted reporting can reduce reporting time by up to 90% compared with manual methods. That matters because documentation only works if crews will keep doing it. Automation lowers the friction.
What AI should actually do for you
Useful AI in construction photo documentation should handle the repetitive office work, not pretend to replace field judgment.
What I'd want from it:
That last point matters more than most contractors think. The same proof-of-work that protects you on a claim can also show future customers how you work. Done right, one job photo set can support operations, billing, client communication, and marketing.
A short demo helps show the idea in practice:
Where automation helps and where it does not
AI is great at organizing and drafting. It is not a substitute for field discipline.
It won't fix:
Use automation after you've built a sound capture habit. Otherwise you're just processing messy inputs faster.
Good AI doesn't rescue bad documentation. It makes good documentation easier to use.
The contractors getting the most value from these tools aren't using them as gimmicks. They're using them to cut admin time, keep owners informed, and turn completed jobs into organized proof they can reuse.
From Documenting Work to Building Your Reputation
Construction photo documentation has changed. It used to be something contractors did after a problem started. Now it's part of how serious crews run a job from day one.
The standard is higher than “take a few pics.” You need a repeatable workflow, consistent framing, location context, milestone coverage, and records that stay intact if a claim shows up later. If your system can also speed up reporting and make finished jobs easier to present, even better.
There's a reputation angle here that gets overlooked. Owners remember the contractor who answered questions with records, showed hidden work before cover-up, and sent clean updates without being chased. That level of transparency builds trust faster than any sales pitch. It also supports billing, closeout, and follow-up admin, especially when paired with organized back-office tools like contractor invoice software.
Audit your process on the next job. Check whether your team documents existing conditions, concealed work, and milestone completion the same way every time. If the answer is no, fix the process before the next dispute, not after it.
If you want a cleaner way to turn job photos into proof-of-work, client-ready updates, and a stronger public reputation, take a look at HomeProBadge. It gives contractors a place to attach tamper-resistant job records to a verified professional profile, while AI tools help turn routine documentation into reports and marketing assets you can use.
Disclaimer
Not legal or professional advice. The information in this article is provided for general educational purposes only and does not constitute legal, financial, regulatory, or professional advice of any kind. HomeProBadge and ScreenForge Labs LLC are not law firms and do not provide legal services. Nothing on this site creates an attorney-client relationship. Always consult a licensed attorney, contractor, or qualified professional in your jurisdiction before making decisions based on information found here.
AI-assisted content. This article was researched and drafted with the assistance of artificial intelligence. The author, Matthew Luke, contributed his perspectives, editorial judgment, and subject-matter opinions to shape the content — but portions of the writing, research, and structure were generated or refined using AI tools. We believe in transparency about how our content is made.